thinking & making
-
19 from 2025
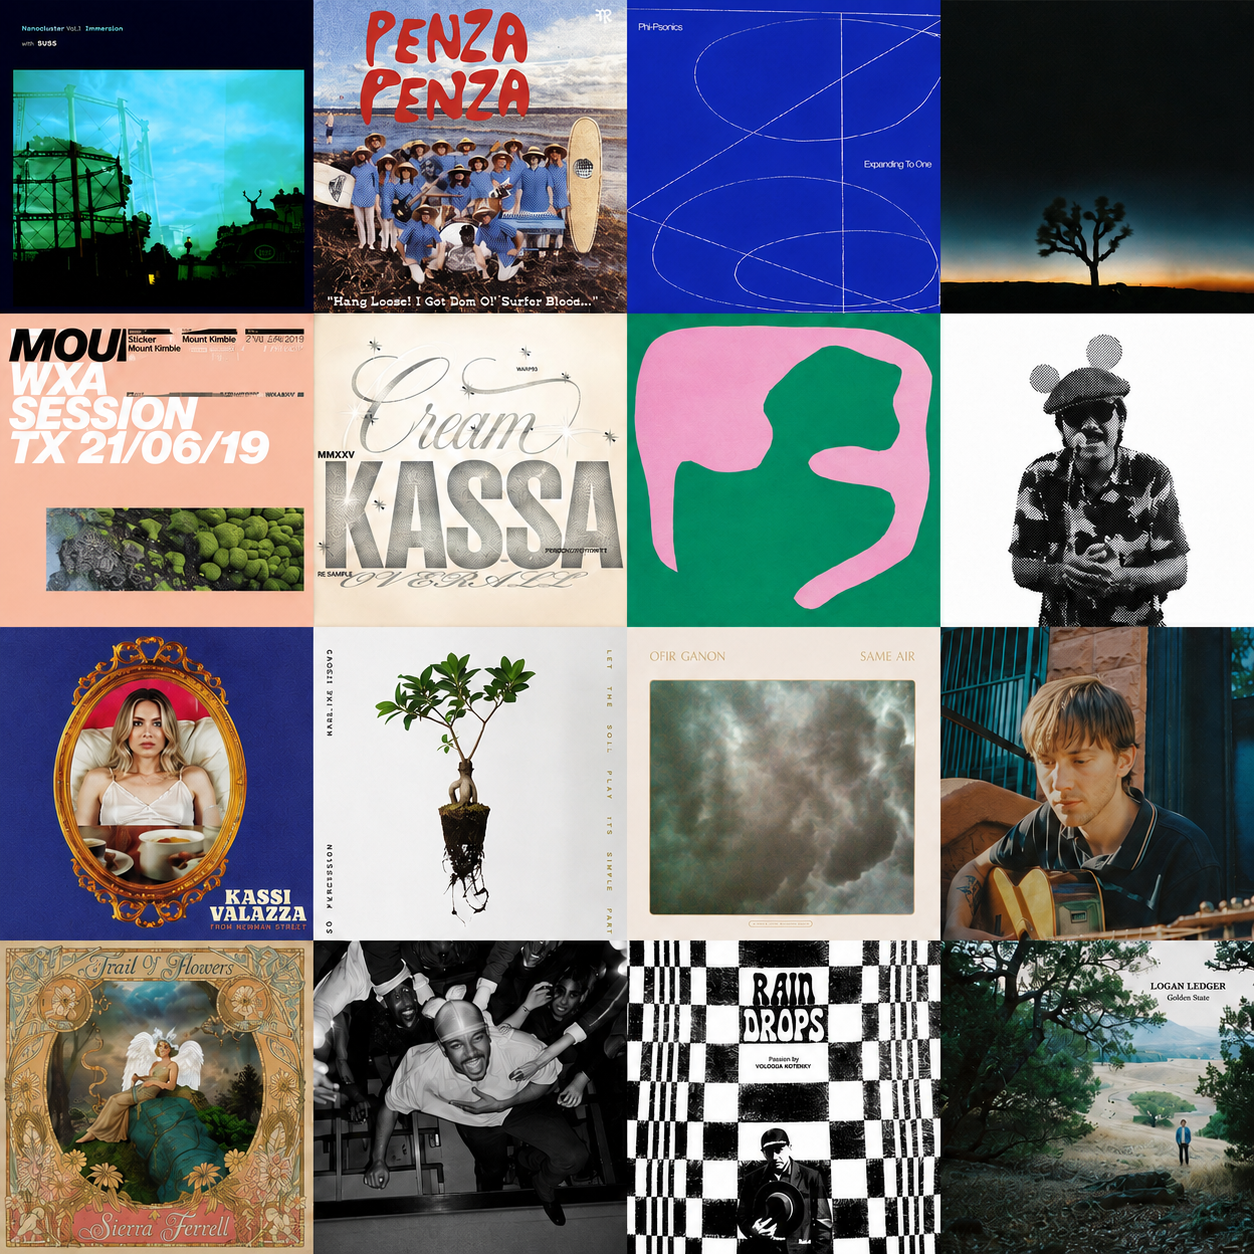
Here are 19 of my favorite songs that I heard first in 2025. Folk, country, instrumentals, jazz, and a few other surprises.
-
LOCAL MUSIC
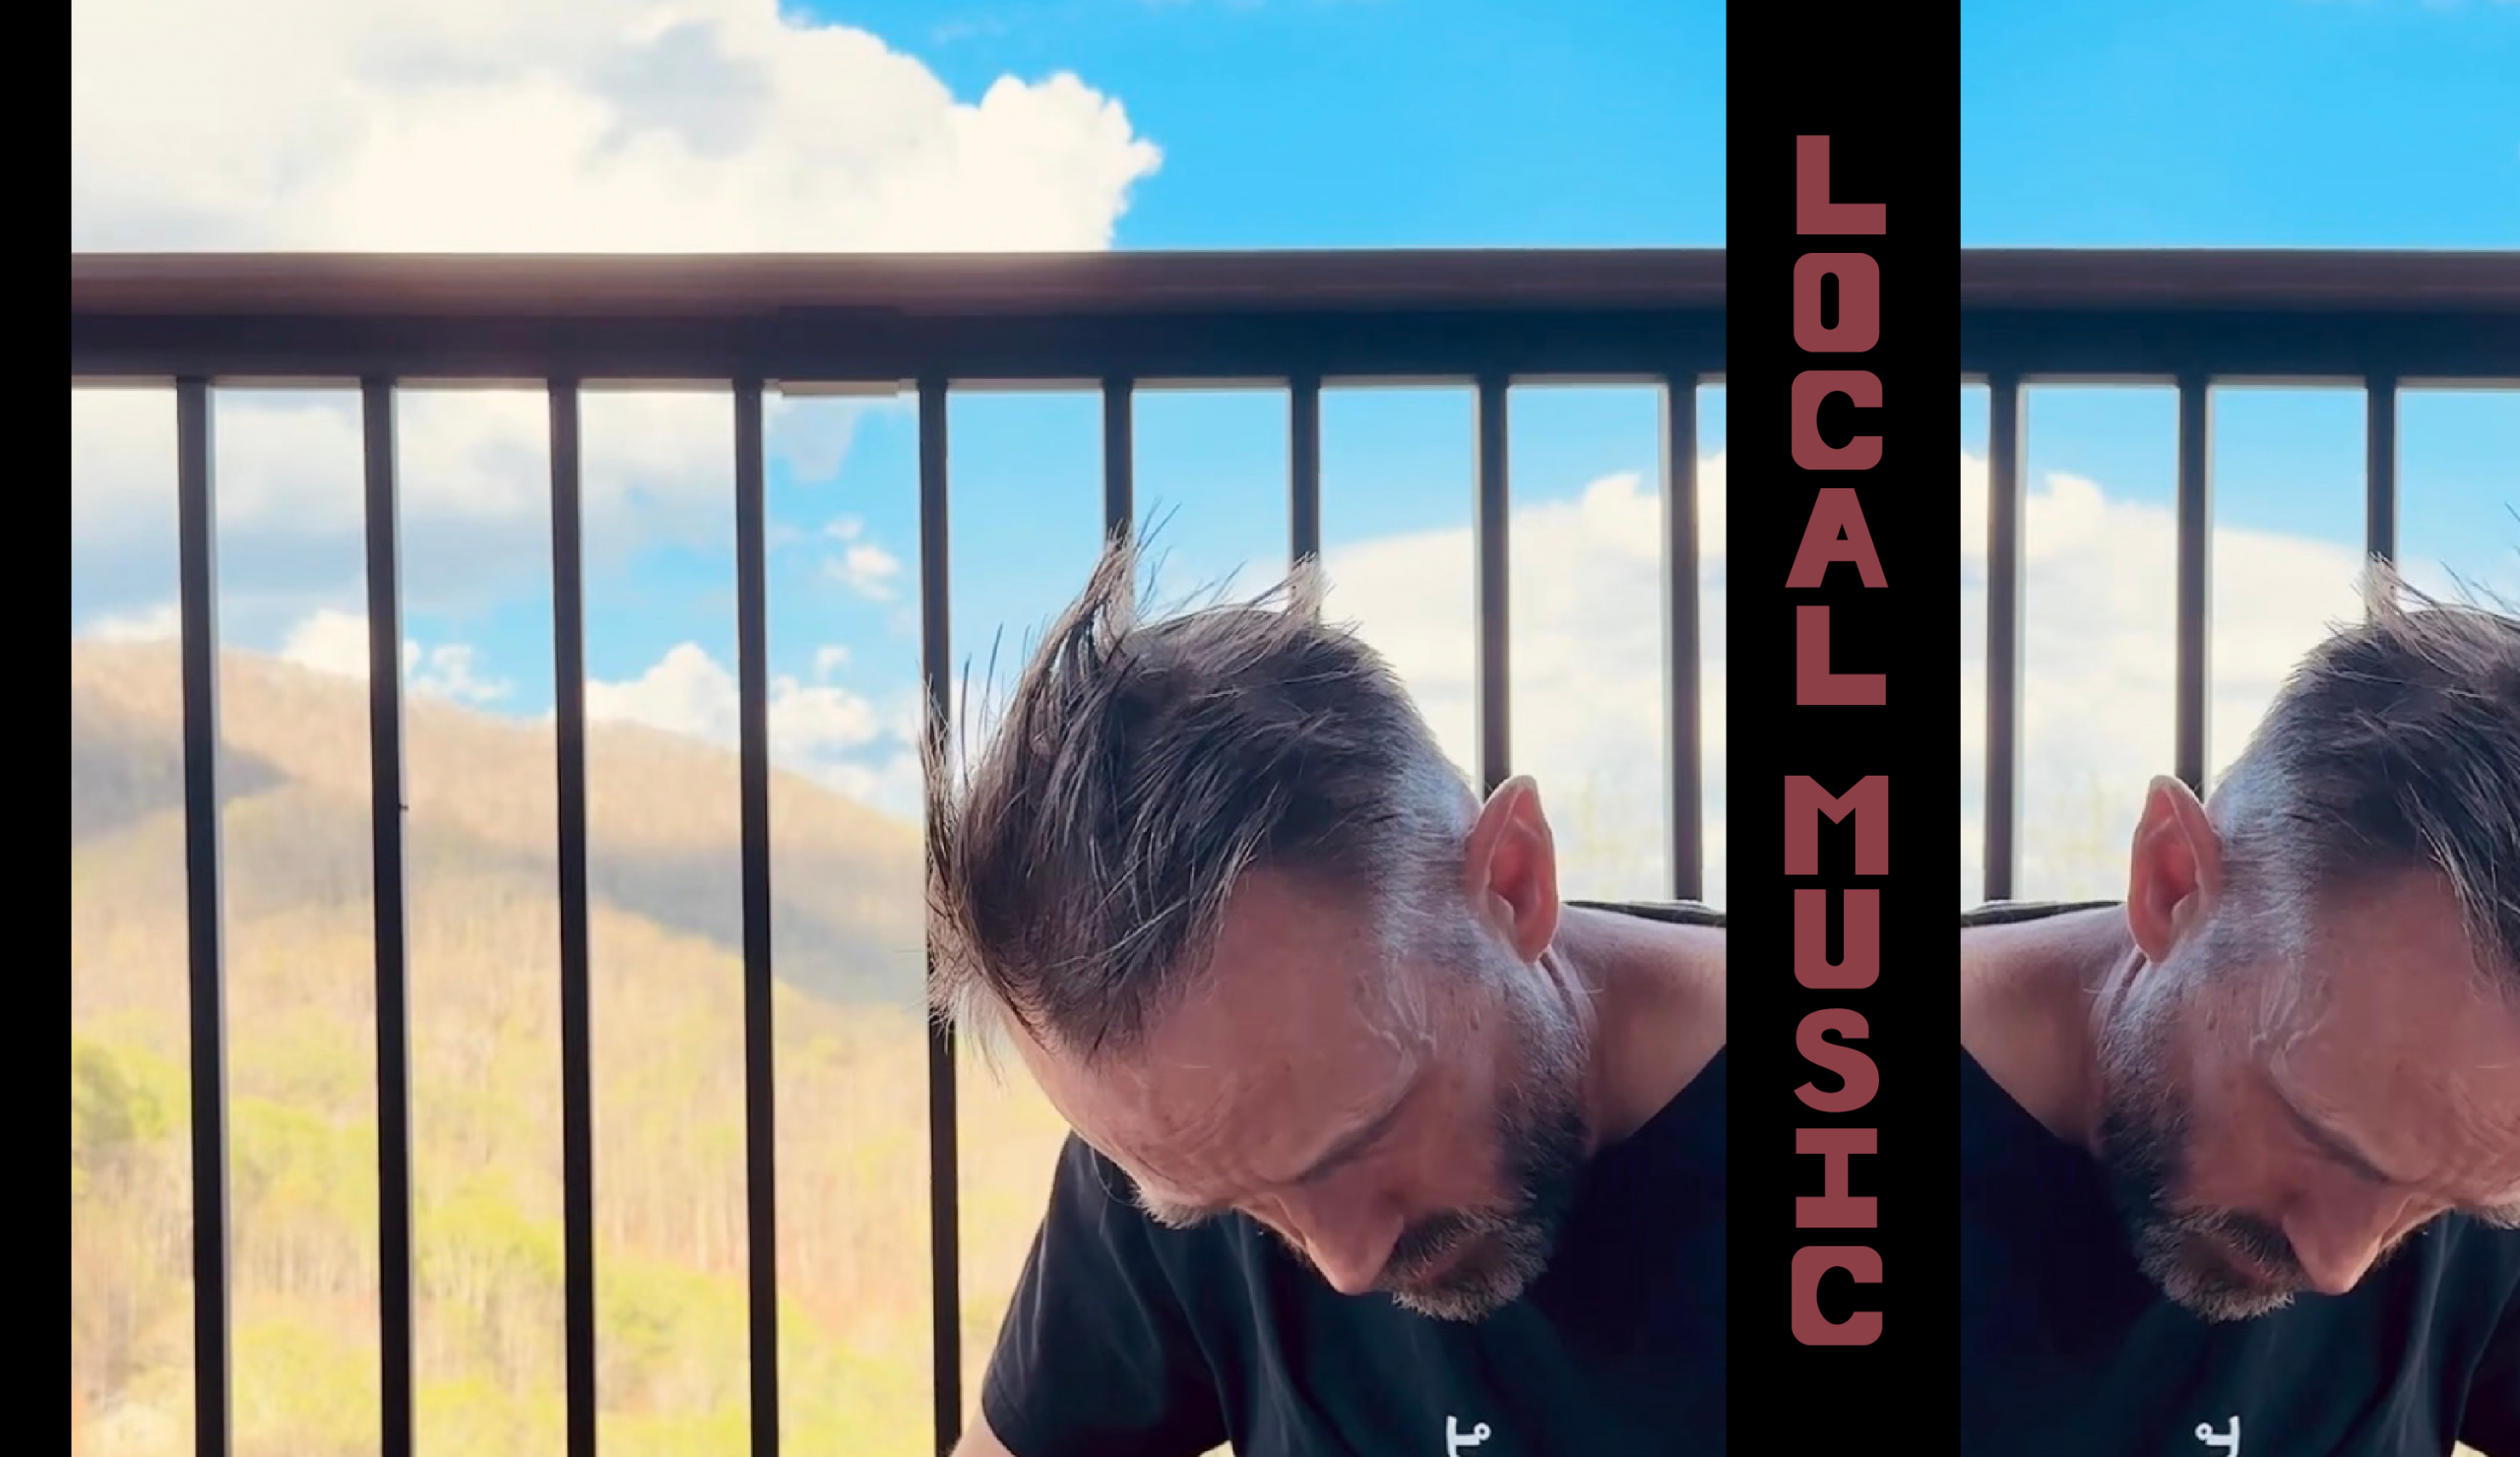
I recorded a few new songs this week and bundled them into aan EP called “LOCAL MUSIC.” These songs are the product of porch sitting at night and in the early morning, and I hope you’ll liste
-
Welcome To Your Future Happiness
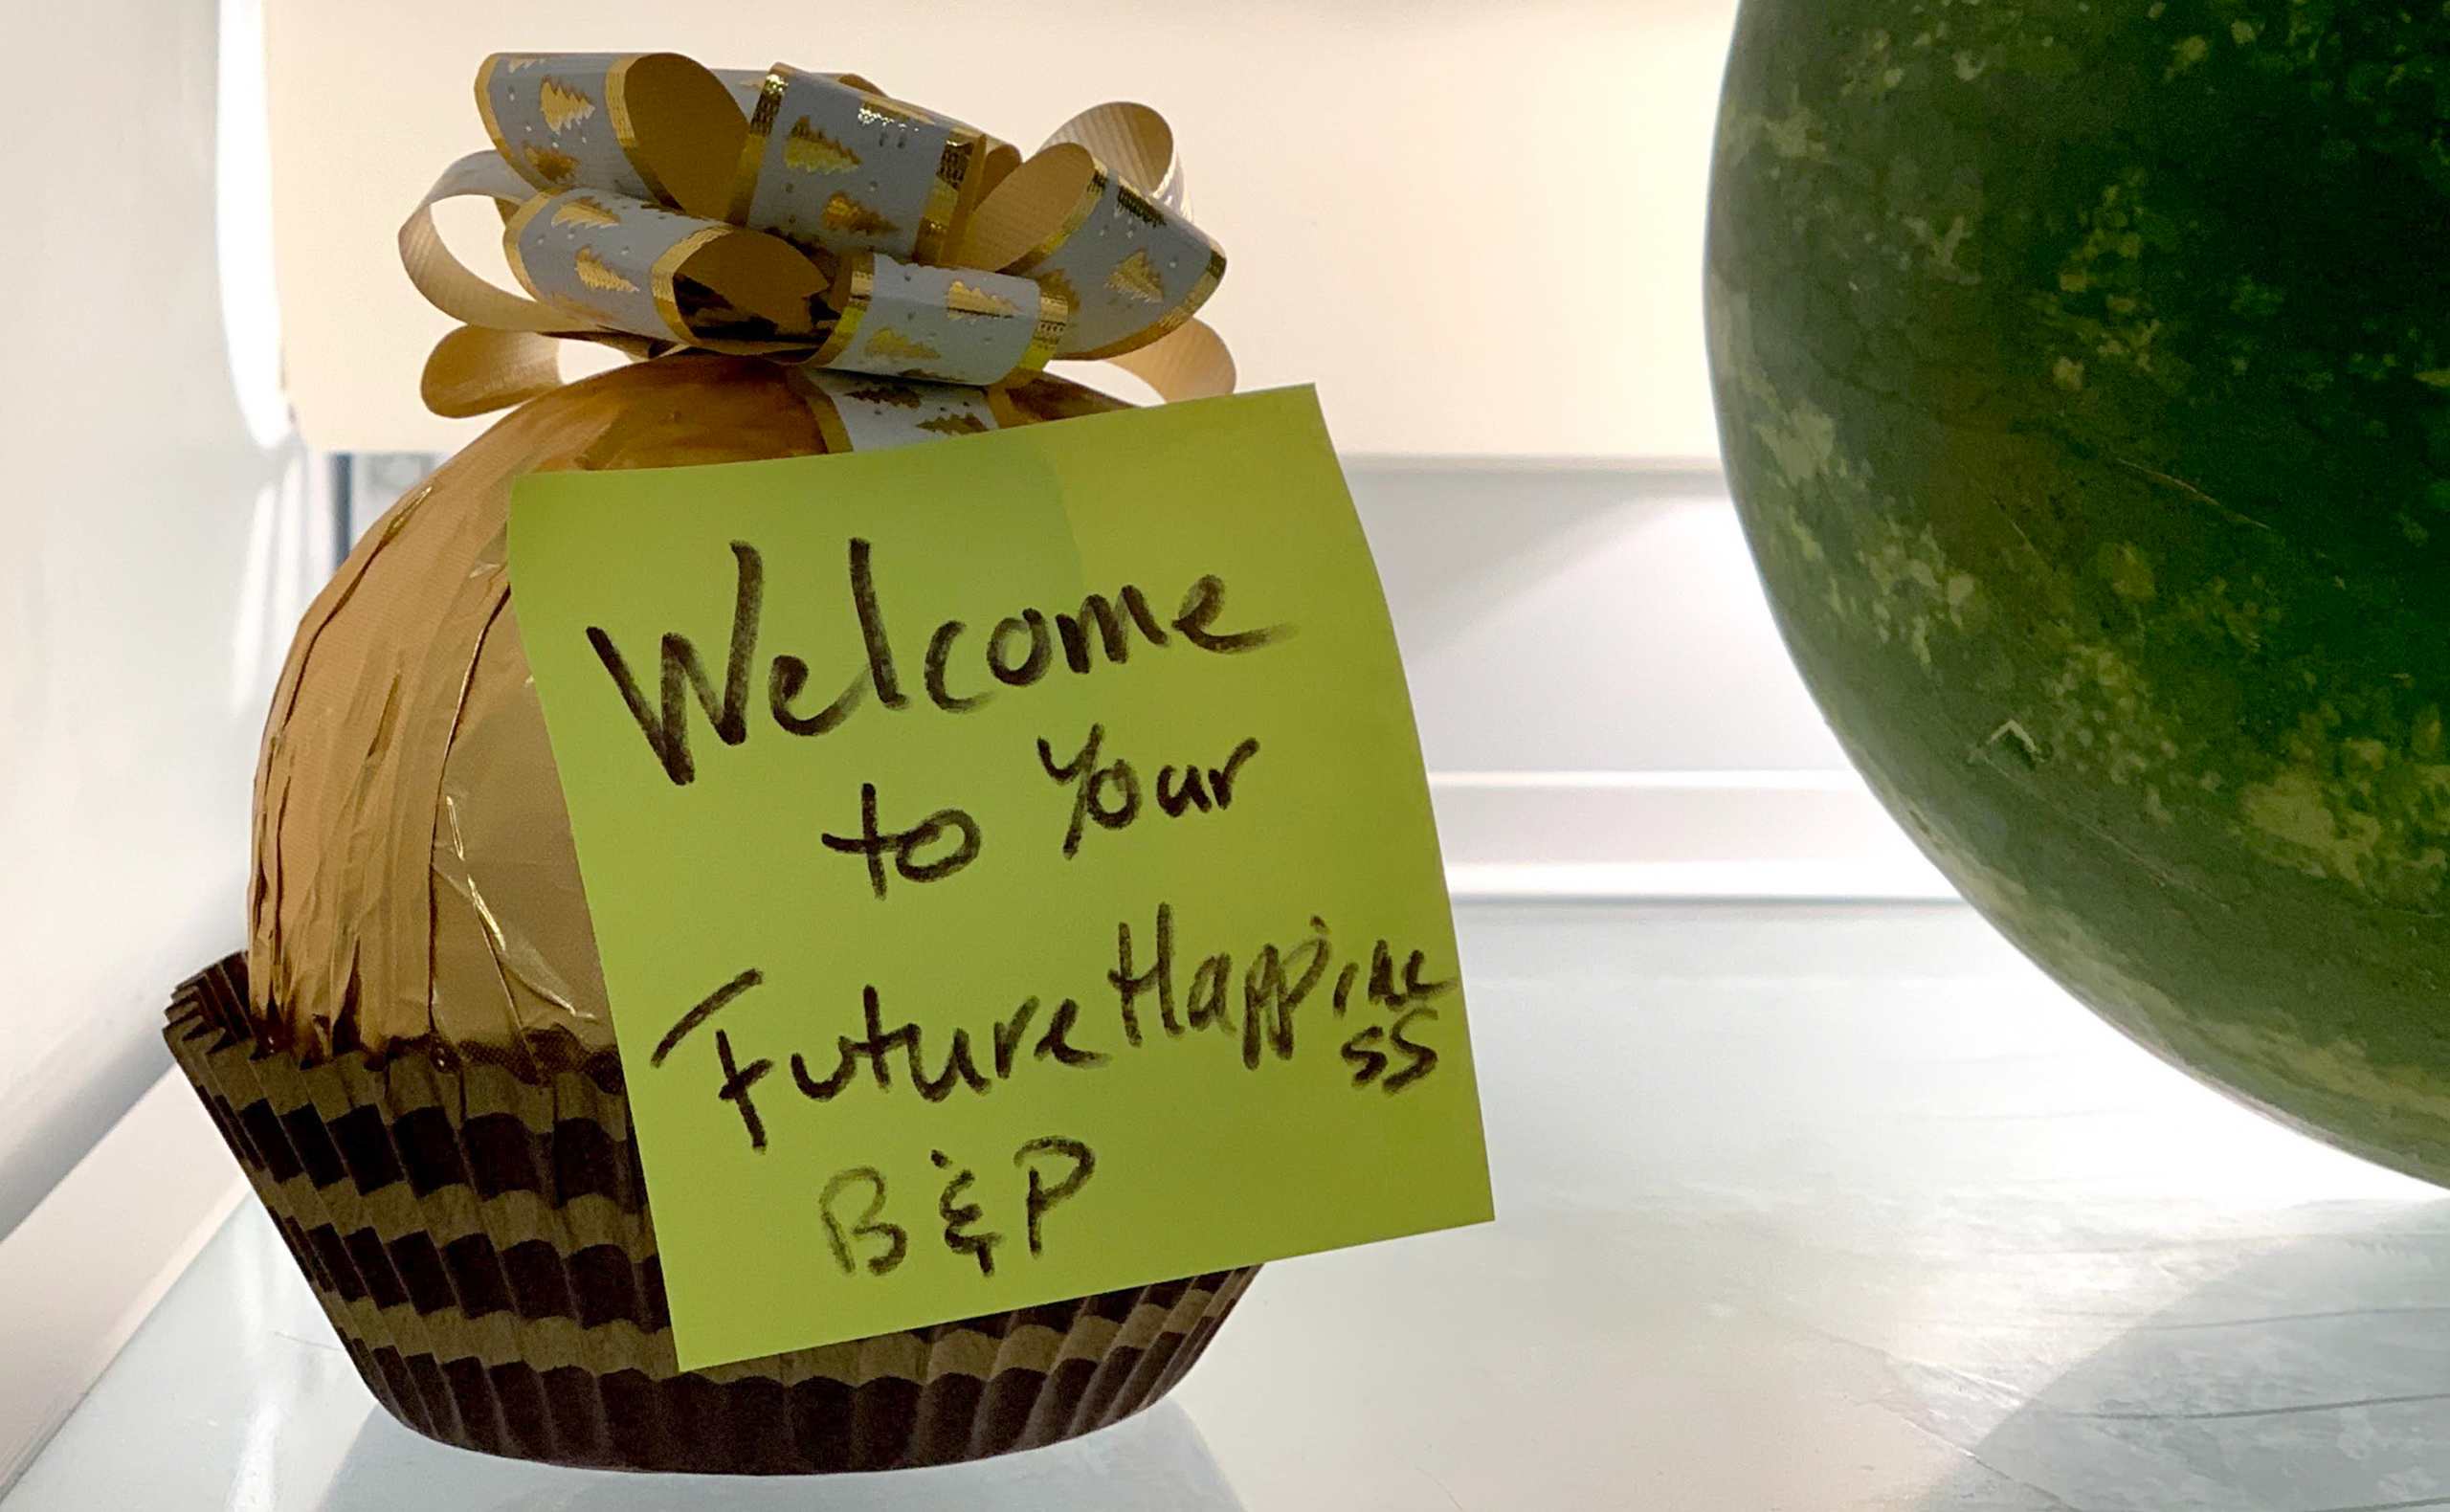
After finally getting around to releasing some new tunes, I wanted to package together the few songs I wrote during the lockdown days. I posted these to YouTube back in the day but I always planned on including them in a larger release. Five years later and I think they stand on their own, and…
-

Stern Dracula Pinball
I’m putting feelers out to see if I can trade Dracula for another Stern of a similar year. Had to take a bunch of photos and remembered just how much work we put in on this machine. It plays and looks really nice.
-

19 from 2024
Here are 19 of my favorite songs that I heard first in 2024. Lots of country, instrumentals, jazz, and a few pop tunes and other surprises.
-

16 from 2022
Here are 16 of my favorite songs that I heard first in 2022. Lots of jazz and ambient country with some other surprises.
-

Planning a pinball class
I’ve been thinking a lot about putting together a pinball restoration class for 4-5 kids next school year. The other night I decided to just dictate a voice memo with all of my ideas about the class, and here are the results.
-

16 from 2023
Better late than never, here’s a 70 minute mix of the best songs I heard first in 2023.
-

Same Old Me
I think i’ve been writing this song in the back of my mind for a couple of years but it came together all in one afternoon. Made this recording in the bathroom the next day after work. I’m getting better and better at writing and singing, but i’d like to start being more consistent, making…